
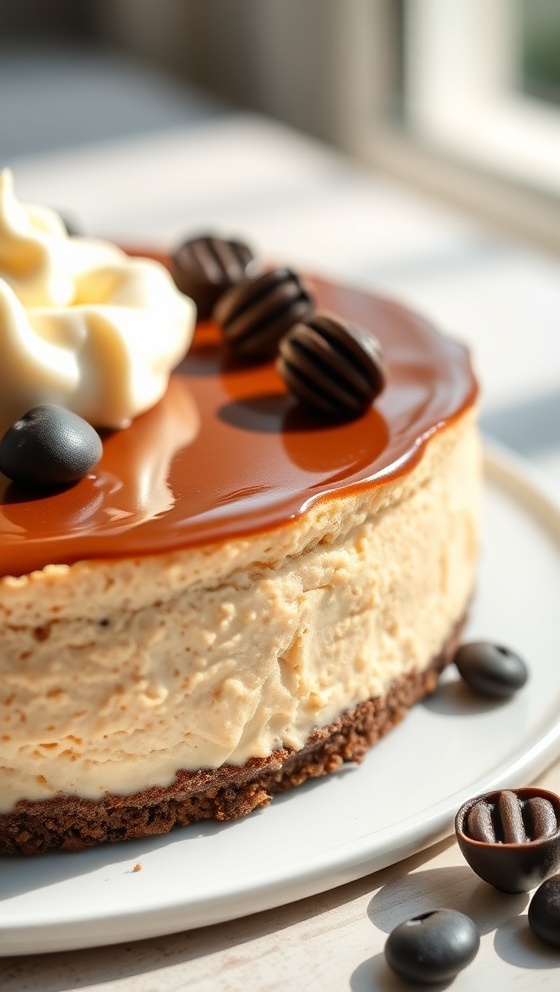
Creamy Coffee Cheesecake
Introduction
If you’re searching for the perfect dessert that combines the rich flavor of coffee with a creamy texture, look no further than a Creamy Coffee Cheesecake. This dessert captures the essence of a classic cheesecake while introducing the satisfying warmth of coffee, making it an irresistible treat for coffee lovers and dessert aficionados alike. The process of creating this delightful dish is simple and rewarding, allowing you to impress family and friends with minimal effort. Let’s dive into the essentials of crafting this delectable dessert, which will have everyone begging for seconds!
Ingredients List
To bring your Creamy Coffee Cheesecake to life, gather the following ingredients:
– For the crust:
– 1 ½ cups graham cracker crumbs
– ½ cup unsalted butter, melted
– ¼ cup granulated sugar
– For the cheesecake filling:
– 16 oz cream cheese, softened to room temperature
– 1 cup granulated sugar
– 3 large eggs
– 1 cup sour cream
– 1 cup brewed coffee, cooled (espresso is a great choice)
– 2 tsp vanilla extract
– 1 tsp instant coffee or espresso powder (for an extra coffee kick)
– For the topping:
– Whipped cream
– Chocolate shavings or cocoa powder (optional)
Timing
When planning to create your Creamy Coffee Cheesecake, anticipate approximately 15 minutes of prep time and 1 hour for baking. After cooling, let it rest in the refrigerator for at least four hours; however, overnight is ideal for optimal flavor infusion. In total, you should dedicate around 5 hours and 15 minutes before ready to serve.
Step-by-Step Instructions
1. Prepare the crust. Begin by preheating your oven to 325°F (160°C). In a mixing bowl, combine the graham cracker crumbs, melted butter, and granulated sugar. Mix until the mixture resembles wet sand. Press the crust mixture firmly into the bottom of a 9-inch springform pan, ensuring an even layer. Bake for 10 minutes, then remove and set aside to cool.
2. Make the cheesecake filling. In a large mixing bowl, beat the softened cream cheese using a handheld mixer or stand mixer until smooth and creamy. Gradually add in the sugar and mix until well combined. Add the eggs one at a time, ensuring each egg is fully incorporated before adding the next one.
3. Enhance the flavor. Stir in the sour cream, cooled brewed coffee, vanilla extract, and instant coffee or espresso powder. Mix just until smooth. Be cautious not to overmix, as excessive air bubbles can create cracks during baking.
4. Combine and bake. Pour the cheesecake mixture into the prepared crust, spreading it evenly. Tap the pan gently on the counter to release any air bubbles. Bake in the preheated oven for about 60 minutes, or until the edges are set, and the center is slightly jiggly.
5. Cool and chill. Once baking is complete, turn off the oven and crack the door open. Allow the cheesecake to cool gradually in the oven for about an hour. Afterward, remove it from the oven, run a knife around the edges to prevent cracking, and refrigerate for at least 4 hours or overnight.
6. Garnish and serve. Once chilled and firmed up, carefully remove the sides of the springform pan. Decorate with whipped cream and optional chocolate shavings or a light dusting of cocoa powder for an elegant finish. Slice and serve your creamy coffee cheesecake chilled, enjoying every delicious bite.
Nutritional Information
Understanding the nutritional value of your favorite desserts is essential, especially for those on specific dietary plans. Based on a serving size of 1 slice (1/12 of the cheesecake), here’s an approximate breakdown:
– Calories: 350
– Total Fat: 22g
– Saturated Fat: 12g
– Cholesterol: 90mg
– Sodium: 220mg
– Total Carbohydrates: 30g
– Dietary Fiber: 1g
– Sugars: 20g
– Protein: 5g
Keep in mind that these figures can vary based on ingredient choices and portion sizes.
Tips
To ensure your Creamy Coffee Cheesecake turns out perfectly, consider these helpful tips:
– Room temperature ingredients, especially cream cheese and eggs, blend together more smoothly, leading to a creamier filling.
– Be patient! Allowing the cheesecake to chill overnight enhances the flavor and texture significantly.
– When adding coffee, ensure it’s cooled to prevent curdling the cream cheese.
– If you prefer a sweeter cheesecake, adjust the sugar according to your taste.
Alternative Methods
If you’re looking to switch things up, here are a few alternative methods for creating a unique twist on the Creamy Coffee Cheesecake:
– Flavor variations: Replace some coffee with flavored syrups, such as hazelnut or caramel, to create distinct flavor profiles.
– Crust options: Try using Oreo crumbs or almond flour for a gluten-free alternative to the traditional graham cracker crust.
– Instant pot method: Make a no-fuss version of this cheesecake using an Instant Pot, which prevents the risk of cracking and requires less monitoring.
– No-bake version: If you prefer not to bake, explore a no-bake recipe by using gelatin to set the filling instead of eggs, reducing the preparation time and complexity.
Common Mistakes to Avoid
Creating the perfect Creamy Coffee Cheesecake is simple, but be wary of these common pitfalls:
– Overmixing the batter can introduce too much air, leading to cracks in your cheesecake. Mix until just combined for a smooth texture.
– Skipping the cooling period can result in a soupy texture, so patience is key!
– Ensure to use a springform pan to allow for easy release from the pan—this will preserve the integrity of your cheesecake.
– Underbaking can leave a runny center while overbaking can produce a dry cheesecake. Keep a close eye during the final minutes of baking.
Conclusion
A Creamy Coffee Cheesecake is not just a dessert; it’s an experience that combines flavors and textures in a way that delights the palate. This indulgent yet comforting treat is perfect for gatherings or as a little self-care on a quiet evening at home. With our detailed steps and tips, you can recreate this delightful cheesecake in your kitchen with ease. Don’t forget to return to our website for more innovative recipes that inspire your culinary journey!
FAQs
Can I freeze the Creamy Coffee Cheesecake?
Yes, you can freeze the cheesecake! Wrap it tightly in plastic wrap and then aluminum foil to prevent freezer burn. It can last for up to 3 months. Thaw in the refrigerator before serving.
How do I make it less sweet?
You can reduce the sugar to suit your preference or consider using dark chocolate for topping, which adds flavor without excessive sweetness.
Can I use decaffeinated coffee?
Absolutely! If you want to avoid caffeine but still enjoy the coffee flavor, decaffeinated coffee works perfectly in this recipe.
Can I make this cheesecake ahead of time?
Yes! You can make the Creamy Coffee Cheesecake a day in advance. In fact, it tastes even better after a night in the fridge as the flavors meld wonderfully.
What if I don’t have sour cream?
You can substitute the sour cream with plain Greek yogurt for a similar tangy flavor and creamy texture.
With these insights, you’re equipped to take on your next baking adventure. Fill your kitchen with the aroma of freshly baked cheesecake—happy cooking!
Creamy Coffee Cheesecake
Ingredients
- 1 ½ cups graham cracker crumbs
- ½ cup unsalted butter, melted
- 2 cups cream cheese, softened
- 1 cup granulated sugar
- 3 large eggs
- 1 cup sour cream
- ½ cup brewed coffee, cooled
- 1 teaspoon vanilla extract
- ¼ cup coffee liqueur (optional)
Instructions
- Preheat the oven to 325°F (160°C).
- In a bowl, combine graham cracker crumbs and melted butter. Press into the bottom of a springform pan.
- In a large mixing bowl, beat cream cheese and sugar until smooth.
- Add eggs one at a time, mixing well after each addition.
- Stir in sour cream, brewed coffee, vanilla extract, and coffee liqueur until well combined.
- Pour the cheesecake mixture over the crust in the springform pan.
- Bake for 60 minutes or until the center is set.
- Let cool, then refrigerate for at least 4 hours before serving.
Nutrition Information
- Calories: 350 kcal
- Protein: 6g